The boys had their party on June 5th and this was what was included in the party:
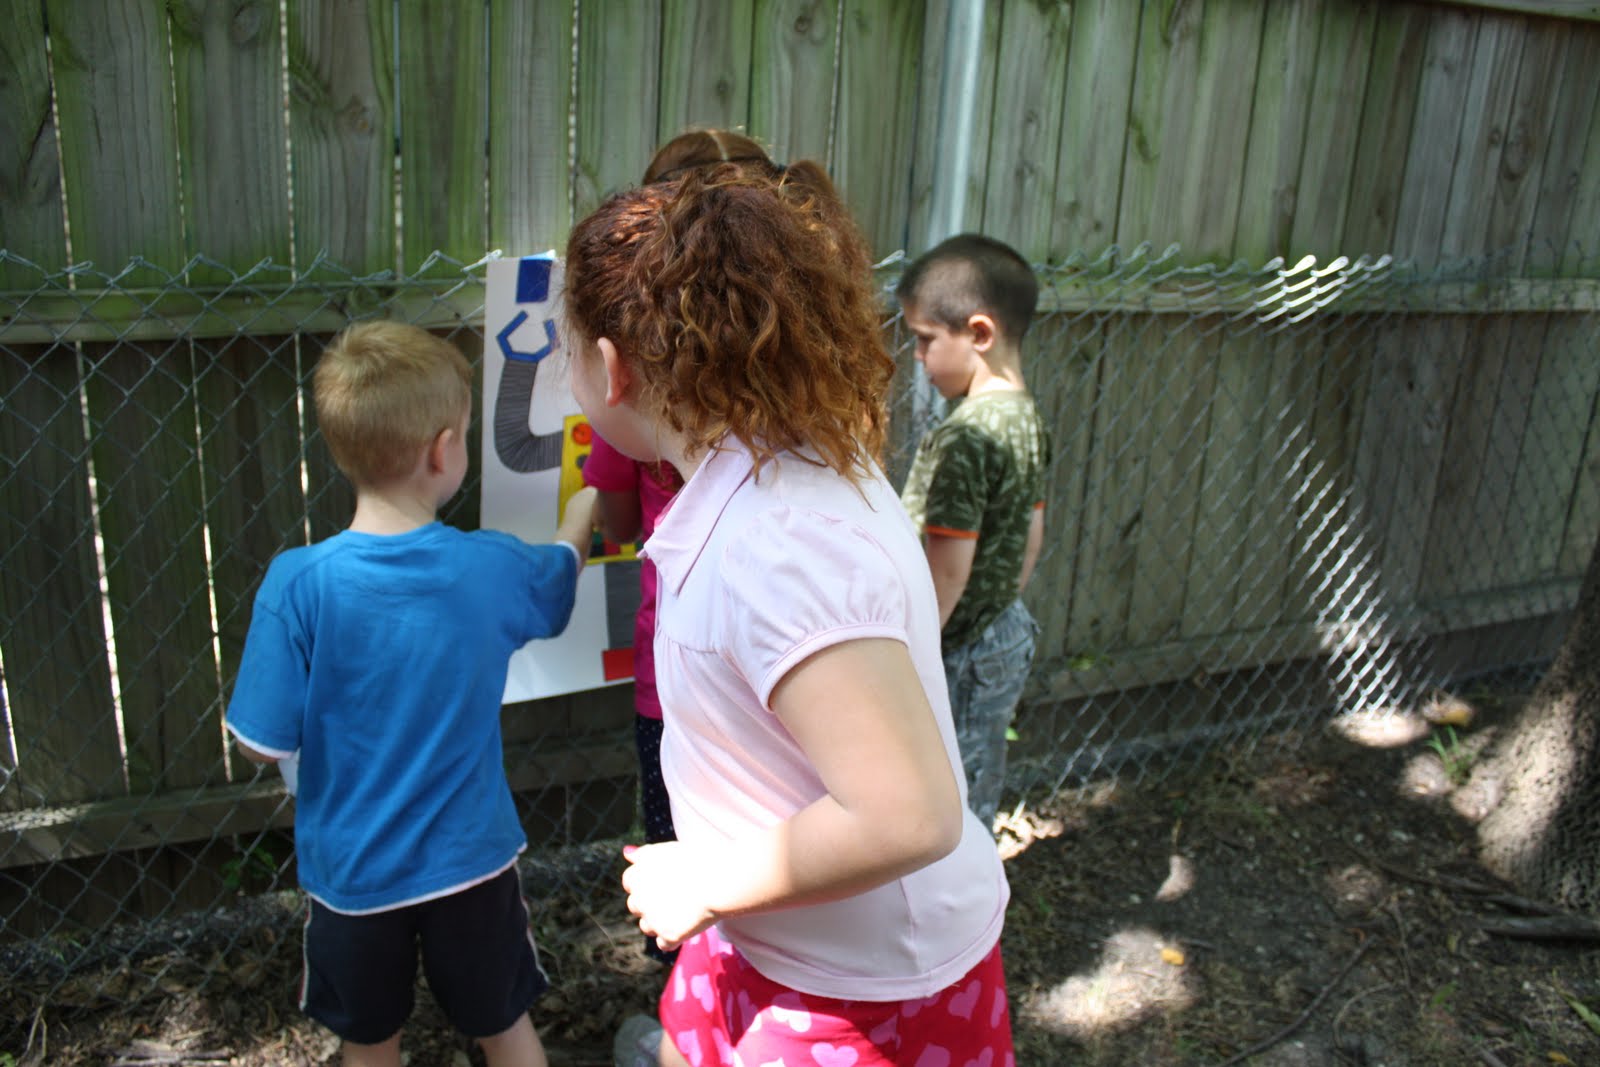
For Games/Activities, we did a Spare Parts Scavenger Hunt, colored Robot face masks, Robot Freeze Dance wearing the face masks, made edible robots out of marshmallows and pretzel sticks, Pin the Button on the Robot and a pinata.
For food, we had hot dogs labeled "Robot Fuel Cells", cheese puff balls labeled "Ball Bearings", chips and guacamole labeled "Computer Chips", chex mix labeled "Nuts & Bolts", fruit and veggie tray labeled "Robot Bits", dressing for veggies labeled "Robot Grease", Punch labeled "Robot Oil", condiments labeled "Spare Parts". I also had sweet and unsweet tea and water on hand. We had a robot cake and cream soda icecream to top it all off.
There were take home goody bags for all the kids, too.
Here are the "recipes" for the punch and cream soda icecream:
Cream Soda Ice cream
60 oz. Cream Soda
2 cans sweetened condensed milk
Pour ingredients into ice cream maker. Pack ice and rock salt in alternate layers around canister and plug maker in. Depending on how hot it is, it should take 30-45 mins. Basically, you want to wait until it stops mixing and your canister start spinning. That means it has thickened all the way. :) Keep an eye on your ice level and add more along with more rock salt as it melts to keep it as cold as possible!
Party Punch
2 liters lemon-lime soda
container of lime sherbet
jar of maraschino cherries in juice
In a LARGE bowl, pour entire jar, including juice, of cherries. Add all of the soda. Stir slightly. Dump entire carton of lime sherbet. Again, stir slightly to combine all ingredients somewhat. This punch looks a bit scary, but believe me it tastes great! Plus, it does a great job masquerading as robot oil.:)
***Bug Note*** One of our friends who attended the party said that she went to a party where the hostess had hung ziploc bags filled with water up around the food and it kept the flies and mosquitos away. I hung some up on our front and back porches and so far it seems to be working!
Here are the websites I found very helpful. They gave me lots of ideas!
This is where I found the robot face mask: http://www.womansday.com/Articles/Crafts/Robot-Mask.html

This was where I got inspiration for our robot pinata:
This is our pinata (it was taken before I had attached all the strings at the bottom...totally forgot to take a pic at the party):


Our robot is a pull and tug pinata instead of the traditional smash and grab kind (3 and 6 yr olds running around with a stick...yeah.;), so I found this on how to play tug and pull: http://www.pinatas.com/How_to_Play_Pull_Pinata_Party_Game_s/39.htm
This was also good source of info for making your own pinata: http://www.aokcorral.com/projects/how2sept2006.htm
This lady threw a robot party for her son and she has some great ideas: http://momtoz.wordpress.com/2009/02/23/zs-big-robot-birthday-bash/
I found this printable invitation and modified it : http://familyfun.go.com/assets/cms/pdf/printables/0407_martian_invite21.pdf
Here is the modification: Editable Invite 1 PDF
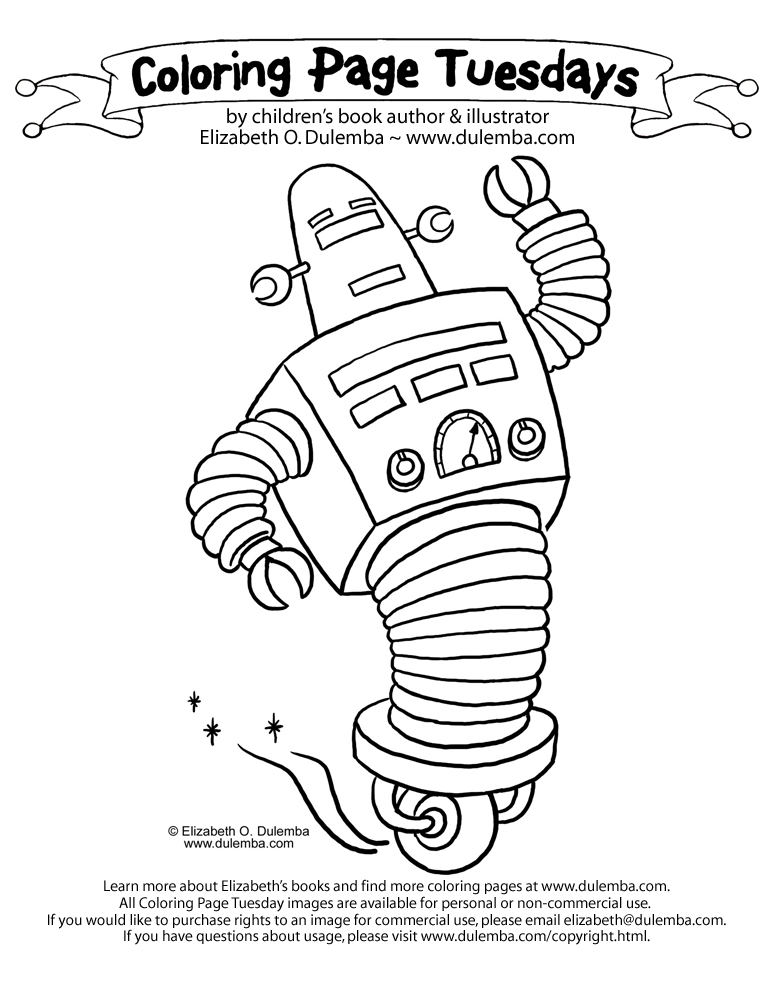
I found several robot clip art and coloring sheets by googling "robot coloring sheets" and just sifting through the image results, which I used for my banner and table decorations. Here are just a few:
Here is the robot banner I made:


I just put two holes using a hole punch on either side of each letter and each robot and then strung them on wrapping ribbon alternating robot, then letter ending with a robot.
This lady's blog is where I got my goody bag ideas and she has the templates for the bag toppers and also some invites that she created herself fo' free! :
For the table "center pieces" I got the idea from watching one of the episodes of the Dugger family when they were giving a baby shower: she took a roll of toilet paper and wrapped it in tissue paper. I just added some balloons on bamboo skewers and stuck them down in the middle of the wrapped tp :).
Found this site of a robot party and used her idea for labeling the food:http://karaspartyideas.blogspot.com/2009/11/robot-birthday-party.html
This is the itinerary, food labels & spare parts labels for the scavenger hunt:
I basically raided my recycle bin for the spare parts objects and then just covered them in foil and taped the labels on them. I then had one of the guests who arrived early hide the "parts" around the yard for the kids to find later.:)


To make the robot marshmallows, just get a bag of the stick pretzels, a bag of small marshmallows and a bag of large marshmallows. You just have the kids put the marshmallows on the sticks whatever way they want to make Marshmallow Robots....then you eat 'em!


For the Pin the Button on the Robot, I just drew a robot on poster paper and colored a red swirling button on him and then duplicated that same button on some paper glued on both sides of a circular piece of cardboard. I got one of those decoratable masks in the craft section at walmart and glued a piece of black felt over each eye hole. NO PEEKING!!!

For the cake, I googled "robot cake" and sifted through the image results until I found this one: http://www.cookiemag.com/food/party/2009/03/robot-party-setup?currentPage=3 . I just love this cake! I really wanted to try and make it, but when I showed it to Braden along with several other robot cakes, he showed next to NO interest in this cake. He wanted a much more colorful one! So, Braden and I got on the computer and came up with our own cake idea. Check it out below. You can also use the 2nd page on the template to print out a t-shirt transfer. Just a warning, though, I did that and then washed the shirts and the transfers peeled off in various places. :( :
Here are pics of the actual cake:
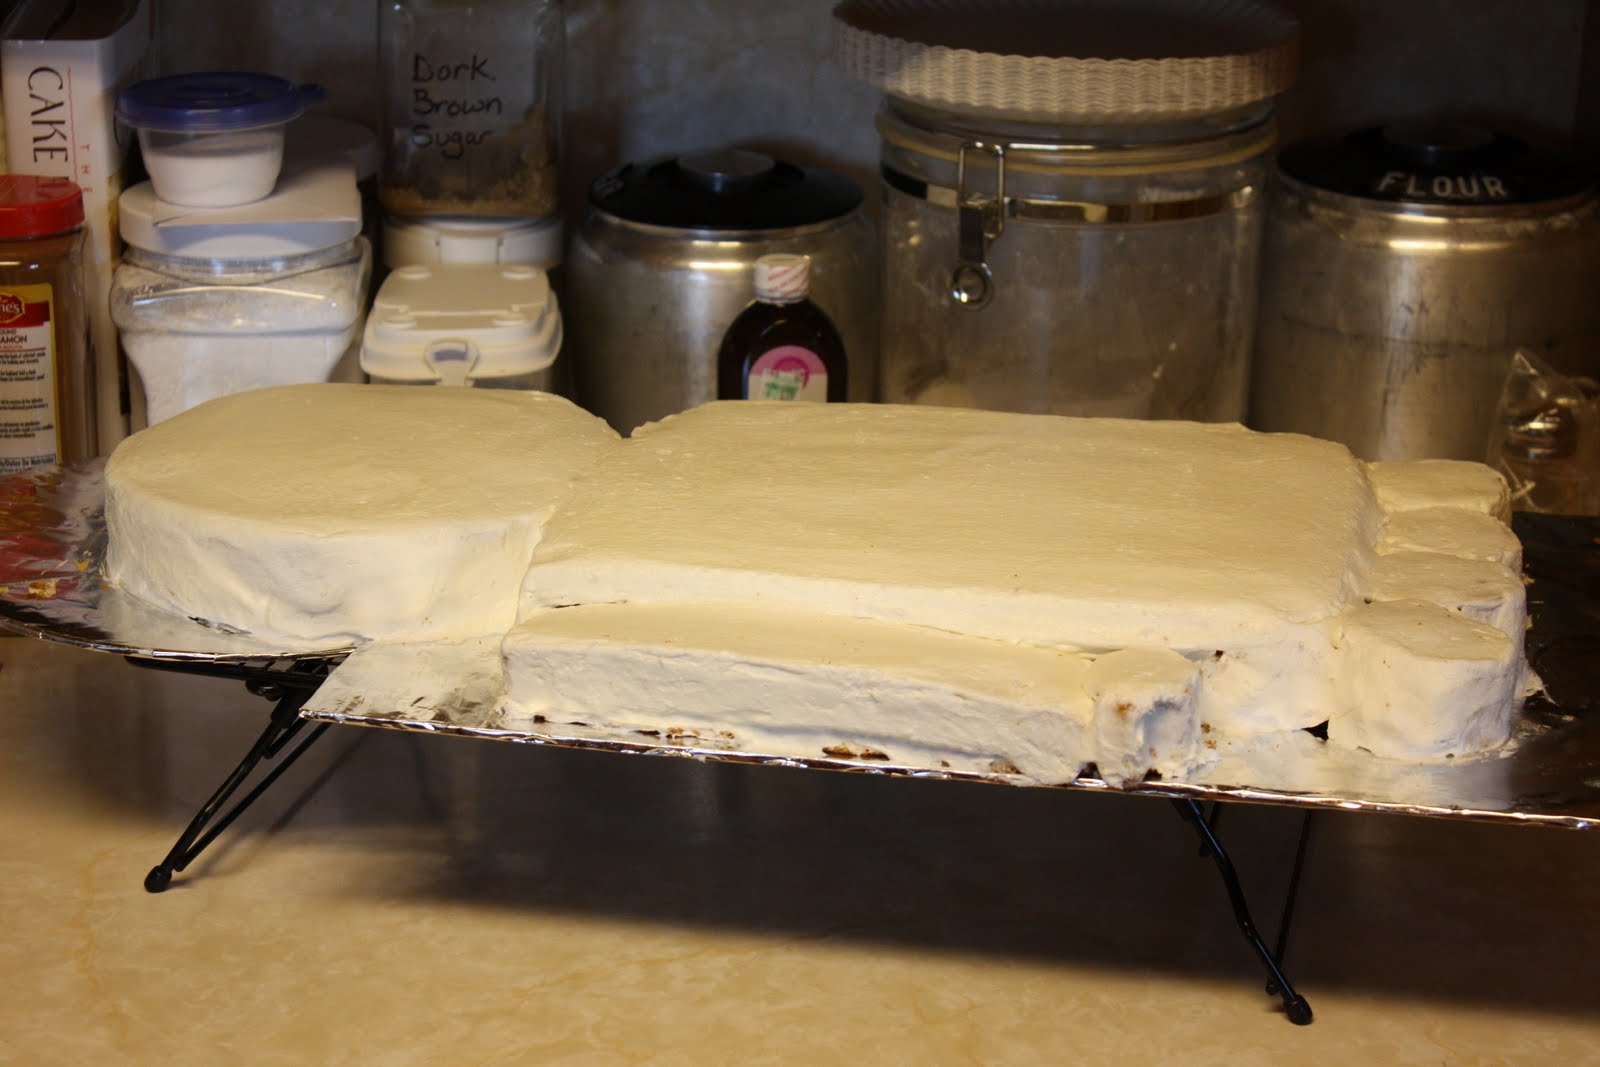

Now I know this cake is not super smooth, but before I smoothed it out using the neatest technique I have come across, it was VERY lumpy! Basically, the icing is a crusting buttercream and you let it crust up and then take a Viva paper towel and lay it on top and very gently and lightly rub your hand over it in small circles and it smoothes it out like a bakery style cake! The video demo is below.

 It doesn't look exactly the way the paper one does, but it comes pretty close!
Viva paper towel method for smoothing icing video:
Now we have birthday pics for your viewing enjoyment:


No comments:
Post a Comment